AI product photography
AI Product Photography Workflow for Ecommerce Visual Sets
Learn how to turn one product photo into hero, benefits, packaging and lifestyle images, with a real four-image example and a brief you can adapt.
By DOBIDOBI Editorial Team·7 min read·Updated
Start with one product and a clear image list
- Choose the images your store needs before generating.
- Use a clear source photo and product facts you can confirm.
- Try the product detail template for a coordinated image set.
- Review each image, then refine only the frames that need work.
Choose the right product photography workflow
A store may need a clean product view, a closer look at packaging and a scene that shows where the product belongs. These images answer different shopper questions. Decide what each frame should explain before you generate a set.
For a product image set, start with the product detail template below. A white background image, clothing worn by a model and a product video have their own workflows. You can use the same original product across these tasks, but prepare the inputs each tool requests.
A real example: one lip tint photo, four ecommerce images
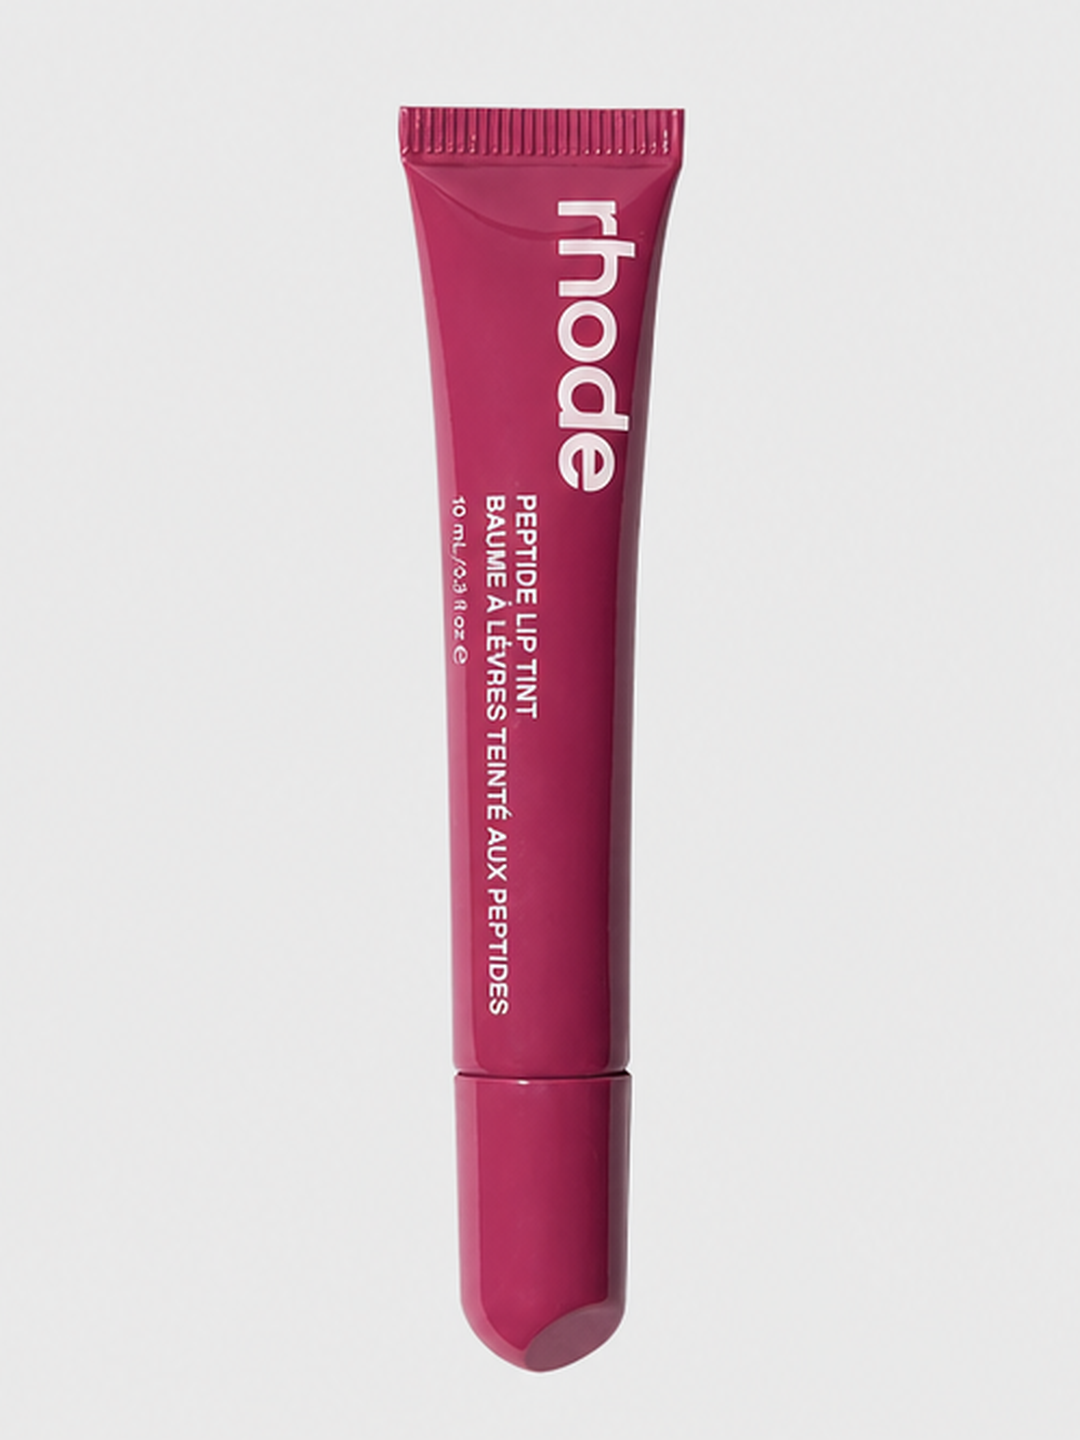
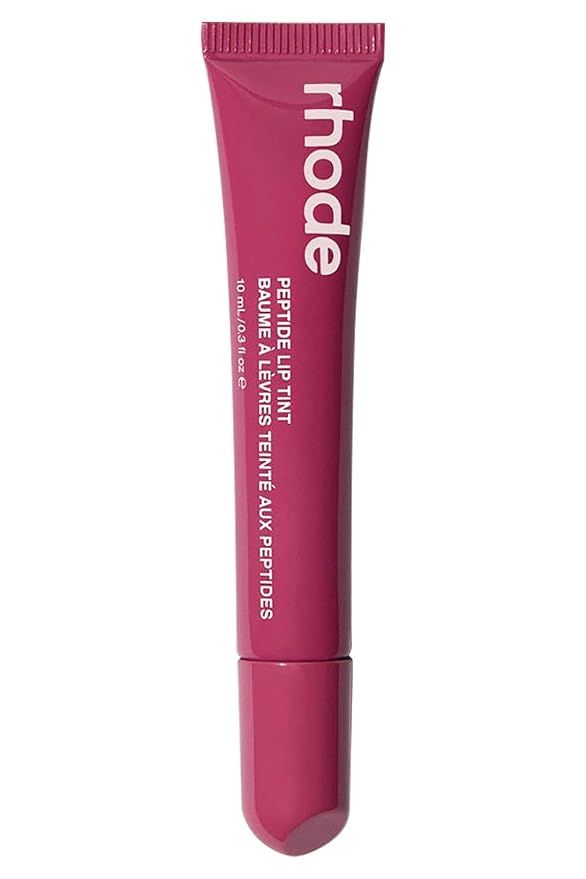
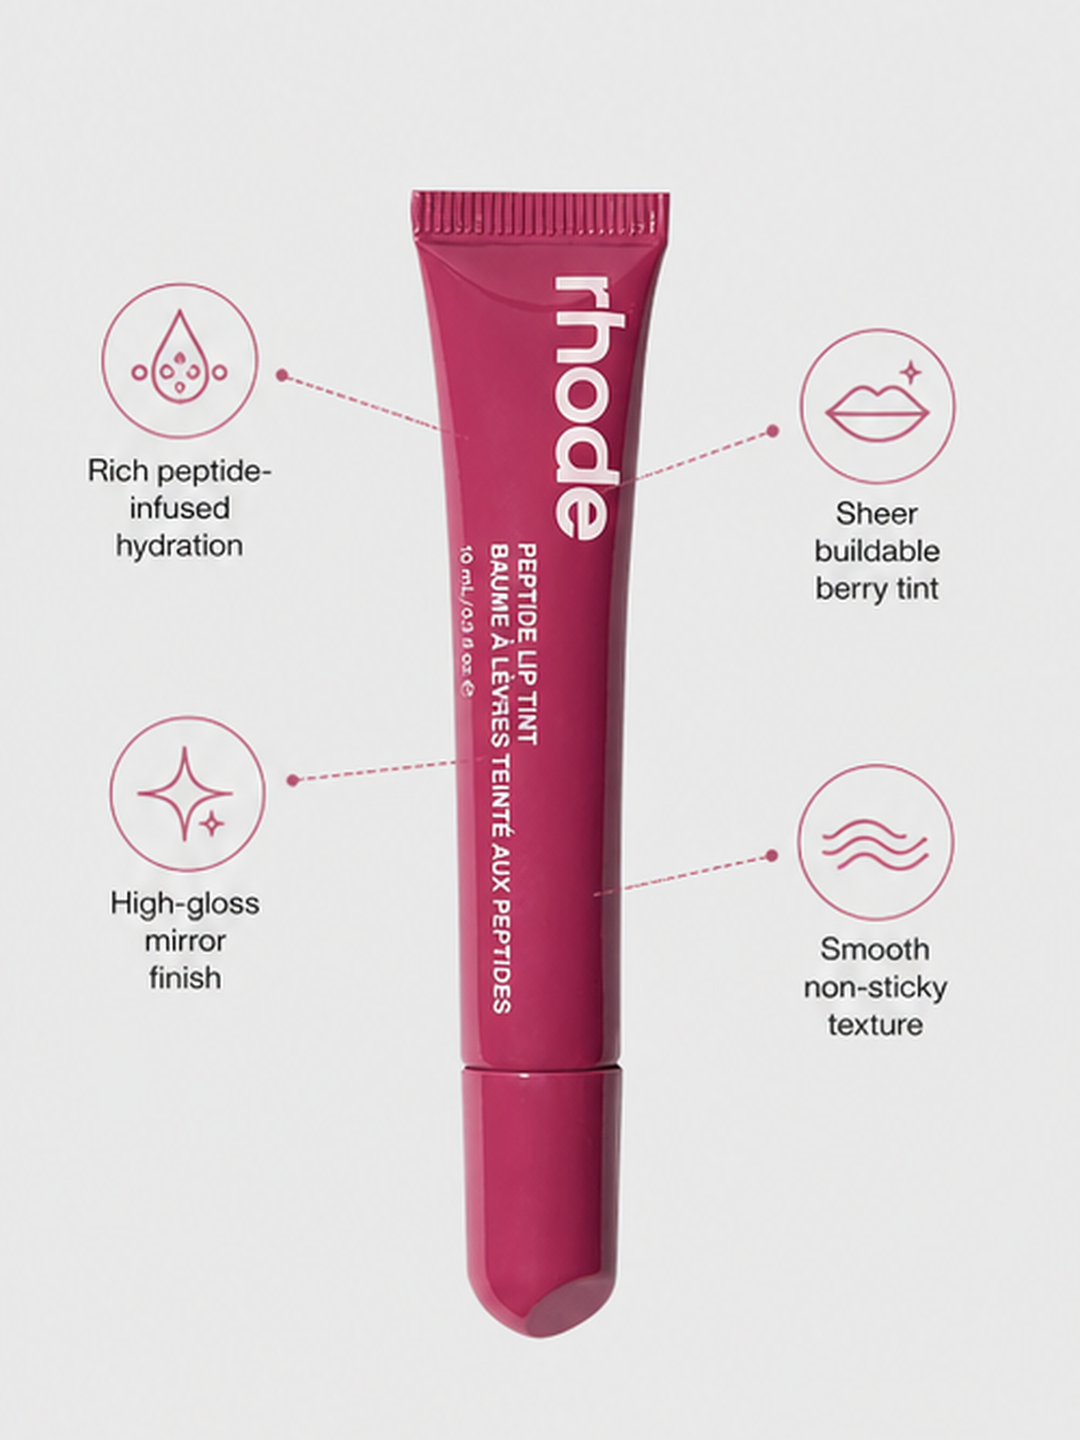
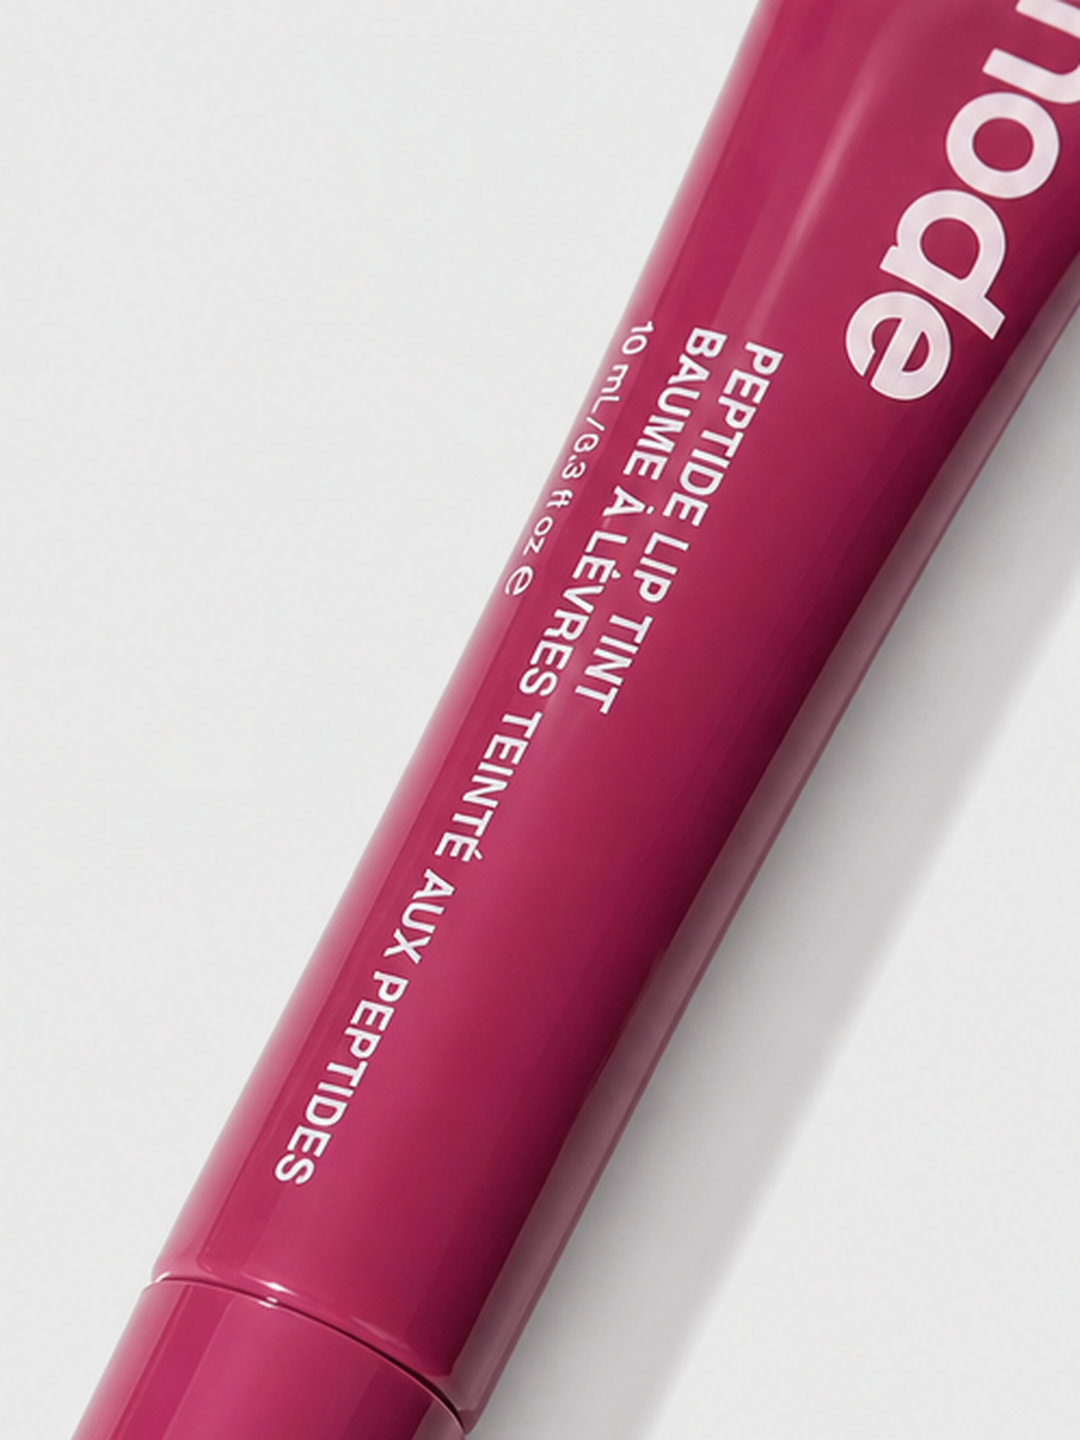
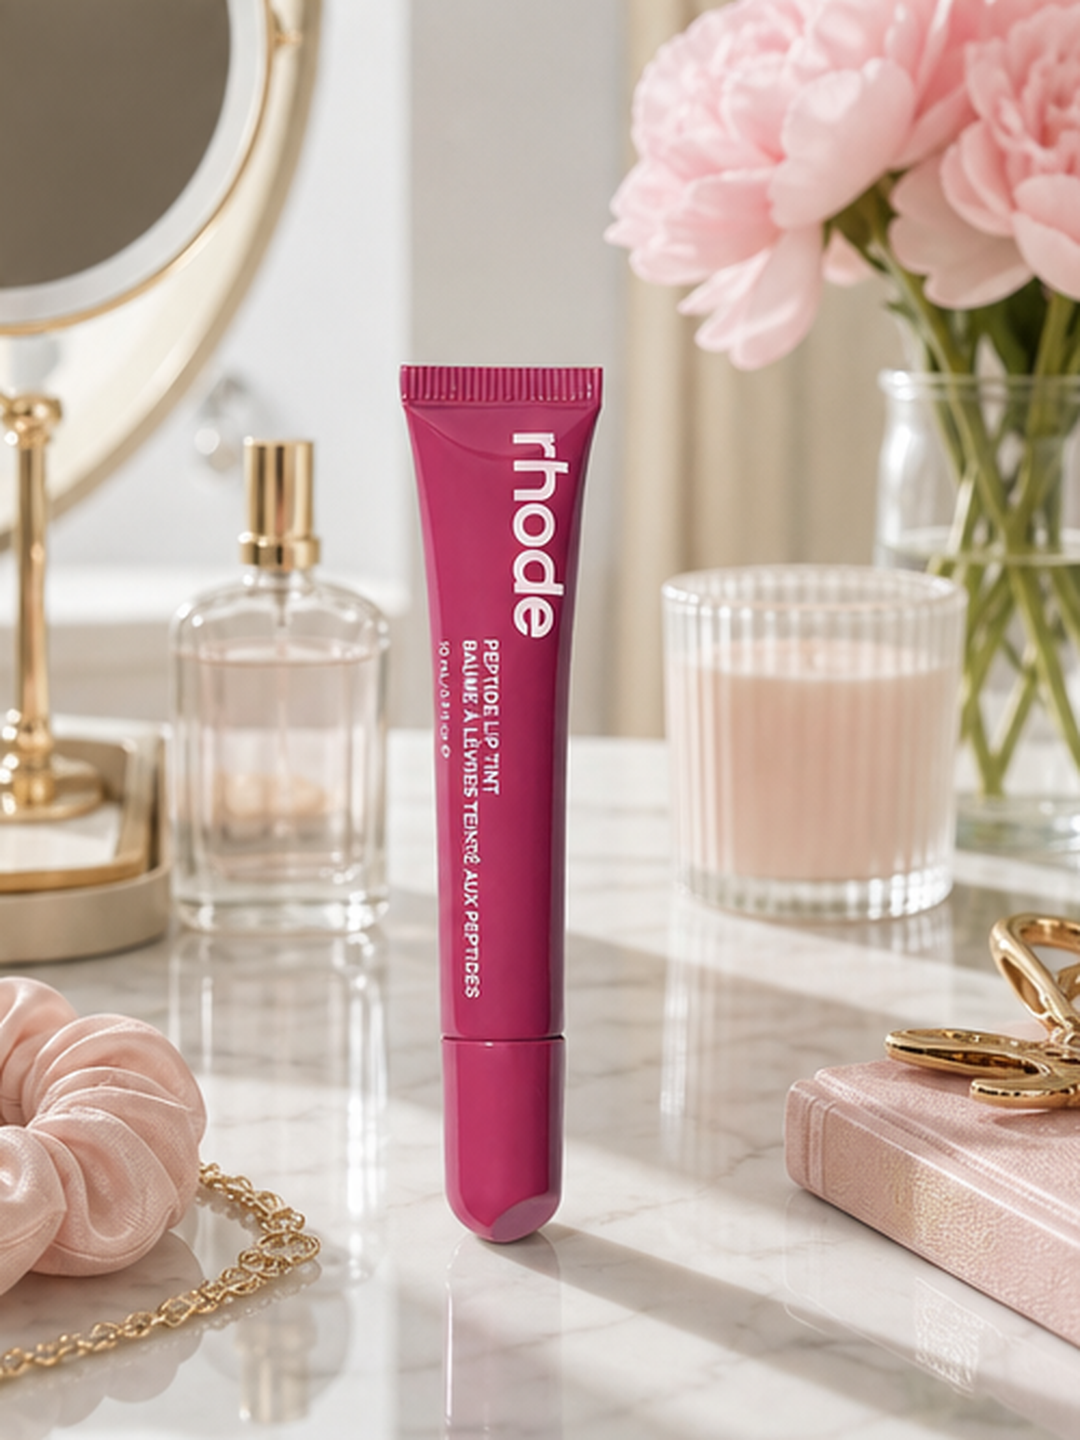
This example starts with a photograph of a closed, berry-colored rhode lip tint tube. The four original outputs show a product hero, a benefits layout, a packaging close-up and a vanity scene. Each frame has a different role in presenting the same product.
The run recorded on September 6, 2026 produced four images in 71 seconds and used 1,556 credits. This is one recorded run; your settings, wait time and credit quote can differ. The original outputs are shown below so you can compare them with the input.
Step 1: prepare your product photo
Choose a photo where the whole product is visible and the important lettering, edges and material are easy to see. Avoid a source with cropped packaging or a hand covering a detail you want to show. Keep the original nearby while reviewing the output.
Open the product detail template and sign in when prompted. You will return to the same template. Add your photo under Product images. The photographed product supplies the visual reference; the description supplies facts and the purpose of the set.
Step 2: write a short product brief
Name the product and describe the frames you need. Include the product facts and selling points you want shown. If a fact is missing, add it yourself rather than asking the model to invent it. Keep the description within the template’s 500-character limit.
Use the example below as a starting point and replace it with your product information. It is an editable example, not the recovered prompt from the recorded run.
Example product brief
rhode lip tint. Use the uploaded product photo. Create a product hero, a benefits layout using the product facts I supply, a packaging close-up and a vanity scene. Keep the tube color, shape and visible lettering consistent.
Step 3: choose the image count and settings
Open the settings and choose four images if you want a set like this example. Select the ratio and resolution for where the images will appear; the example outputs are portrait PNGs, 1080 × 1440 pixels. Check the available options and the current credit quote before generating.
Start with the product and image roles defined above. If you need a different scene or a closer packaging view, say so in the brief. AI can propose a layout, but it may not reproduce every requested detail, so review the completed frames individually.
Step 4: compare all four images with the original
First check the tube shape, color and visible lettering against the source. Then check the role of each image: a hero should show the product clearly, a benefits frame should use your product facts, a close-up should show real packaging details, and a lifestyle frame should put the item in a relevant scene.
Open a completed image for a closer view. If one frame needs another attempt, use the individual image’s regeneration action. You can also save a completed image to your materials or add it to the canvas for further work. A successful generation is the starting point for your review, not an automatic approval for every storefront.
Step 5: select the images for your store
Arrange the images around the questions a shopper needs answered: what the product is, what it offers, what its packaging looks like and where it fits into a routine. You do not have to use every generated image. Keep the ones that clearly represent the product you sell.
Check the requirements of your intended placement before publishing. Google Shopping main images and additional images have different roles; a promotional benefits layout is not automatically suitable as a main feed image. The official image guidance and Shopify product-media instructions linked below can help you prepare the final listing.
Compare product photography cost per usable image
Compare the same deliverable when weighing a shoot against AI-assisted production: the product, image count, required details, usage and final formats. A software subscription price alone does not measure the cost of finished work.
Cost review worksheet
Total cost = source preparation + production or generation + review and retouching.
Cost per usable image = total cost ÷ accepted images.
If no image is accepted, record a failed trial; do not report zero cost per image.
- Record source photography, styling, preparation, generation credits, review and retouching time. Include rejected attempts.
- Divide the total production cost by the number of images accepted for the intended use. Count active working time separately from waiting time.
- For a new collection, reuse the selected direction where it fits, then check each new product. Style reuse reduces repeated setup work only when the results meet the brief.
Choose the next image your product needs
Need a full image set for your next product? Open the same product detail template and supply the new photo and product facts. For a clean background, use the white background workflow. For clothing on a model, prepare both the person and garment images. For motion, start from an approved still and use the image-to-video workflow.
Decision table
Match the workflow to the image you need
| Task | Prepare | Start here |
|---|---|---|
| Product image set | Product photo and a short product brief | Product detail template |
| White background image | A clear product photo | White background workflow |
| Clothing on a model | Person photo and garment photo | Clothing-on-model workflow |
| Short product video | An approved still and a motion idea | Image-to-video workflow |
Checklist
Before using the results
- The product’s shape, color and visible lettering match the source.
- Every marketing claim comes from product information you supplied.
- Each selected frame has a clear job in the listing.
- The final dimensions, presentation and file meet the requirements of the destination.
Official references
Prepare your product listing
FAQ
Can one photo become a complete product image set?+
The product detail template can generate multiple frames from a product photo and brief. The example on this page shows four original outputs from one run. Review every frame against the source; a generated set does not guarantee that every detail is accurate.
Do I need a model photo for this lip tint workflow?+
No. This example uses the product detail template with a product photo and brief. The clothing-on-model workflow is a separate task that requests person and garment images.
Does a four-image set always cost 1,556 credits?+
No. That was the cost of the recorded example. Your current model, image count and settings determine the quote shown before generation.
Can I improve one image without starting the whole set again?+
Completed individual images have a regeneration action. You can also save an image to your materials or add it to the canvas for further work.
Make an image set for your own product
Bring a clear product photo and a short brief. Choose your image settings, check the quote and review the results frame by frame.
Open the product detail templateKeep reading