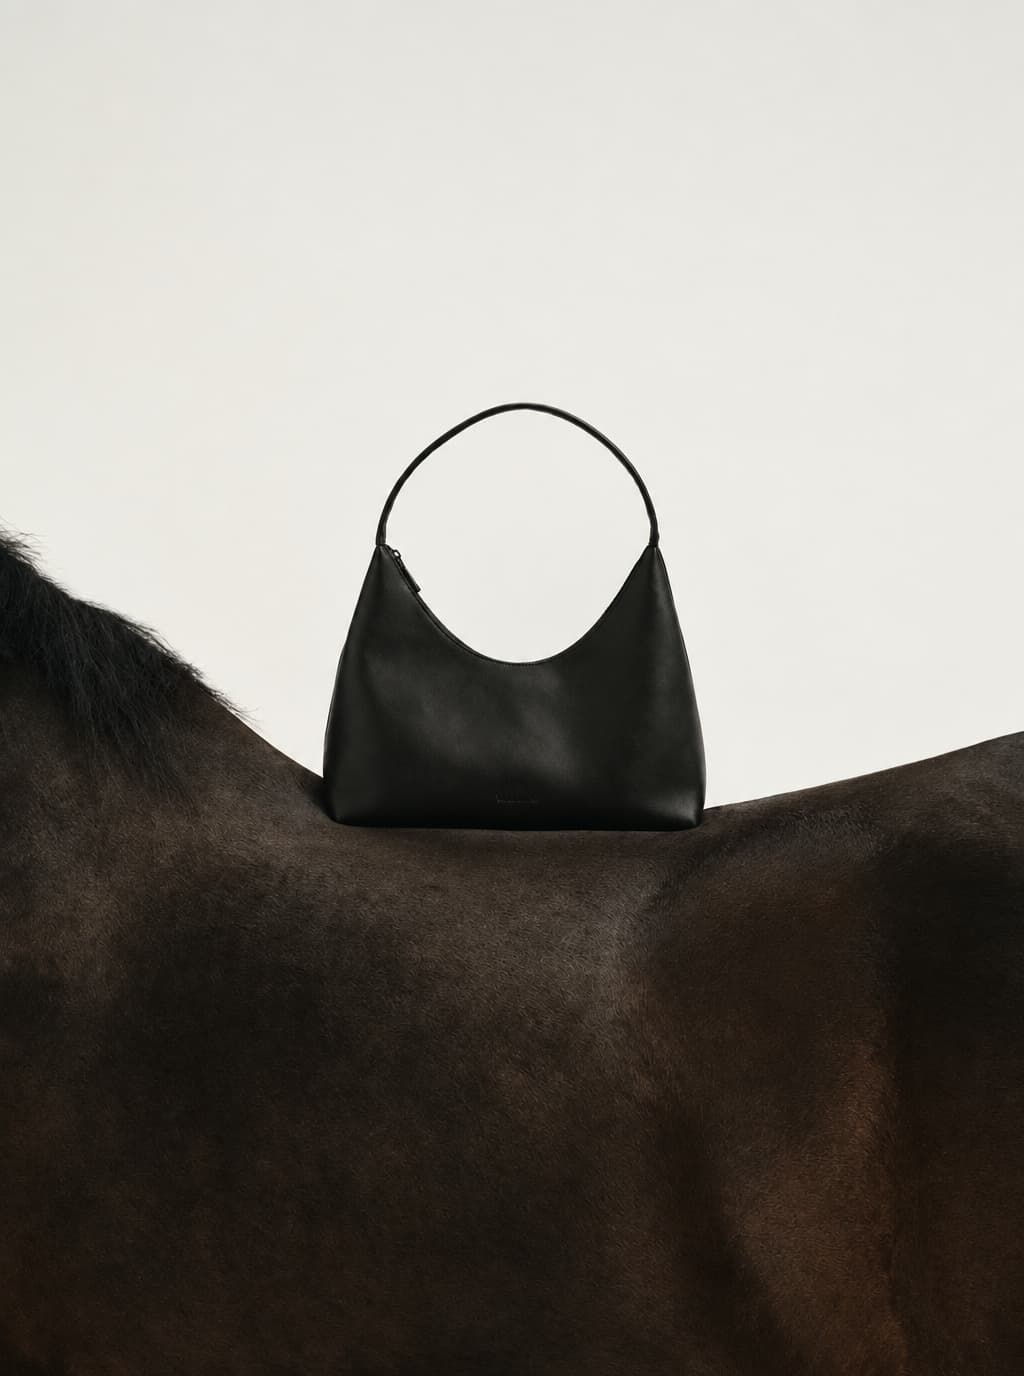
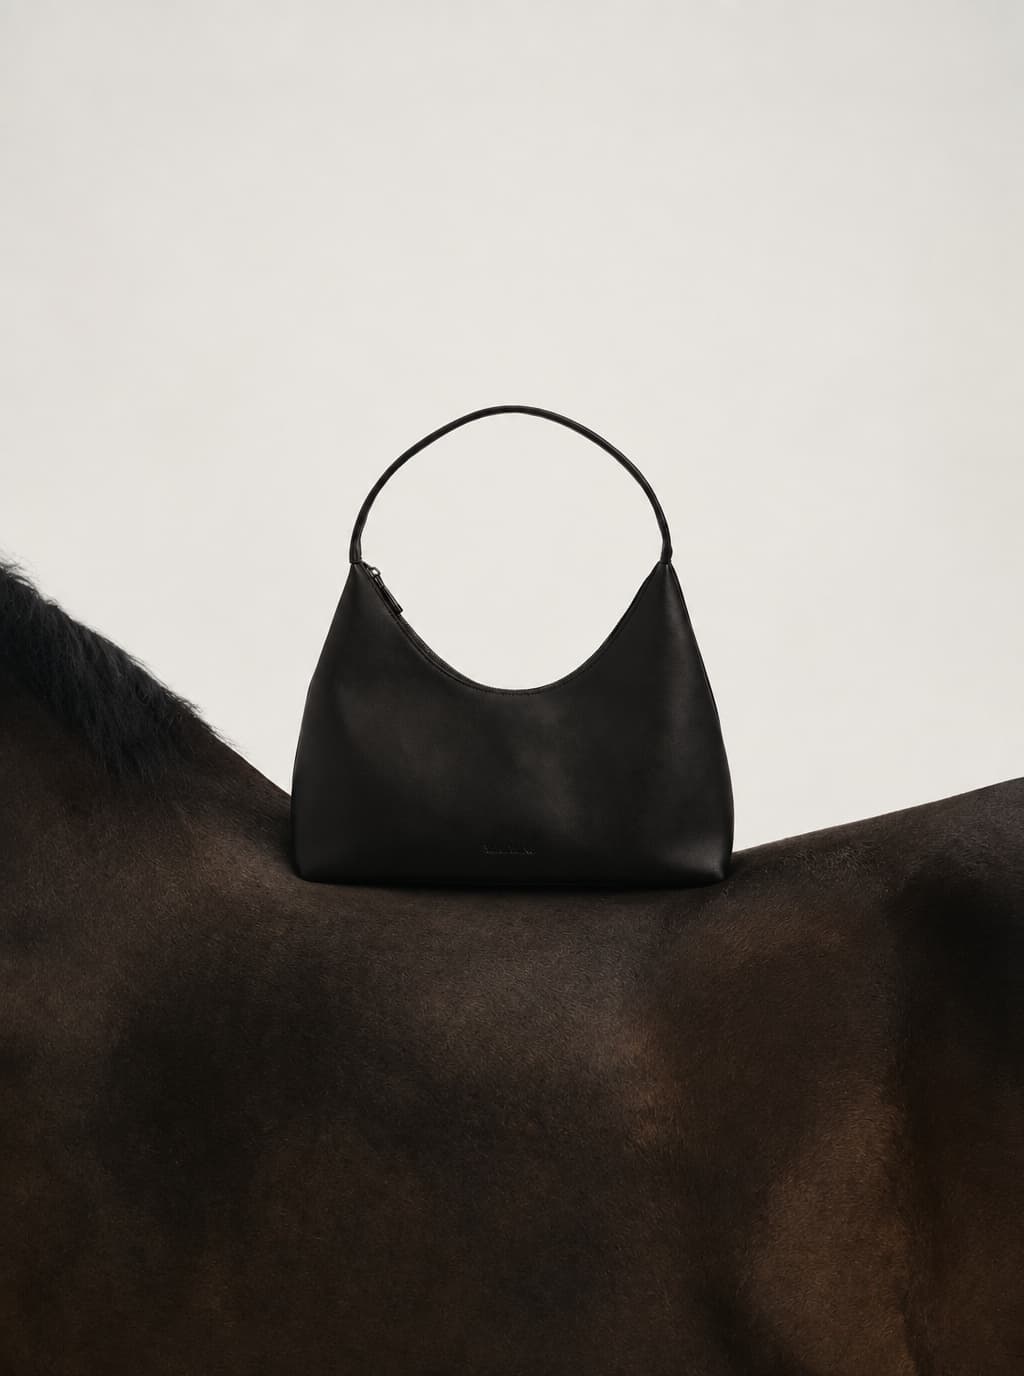
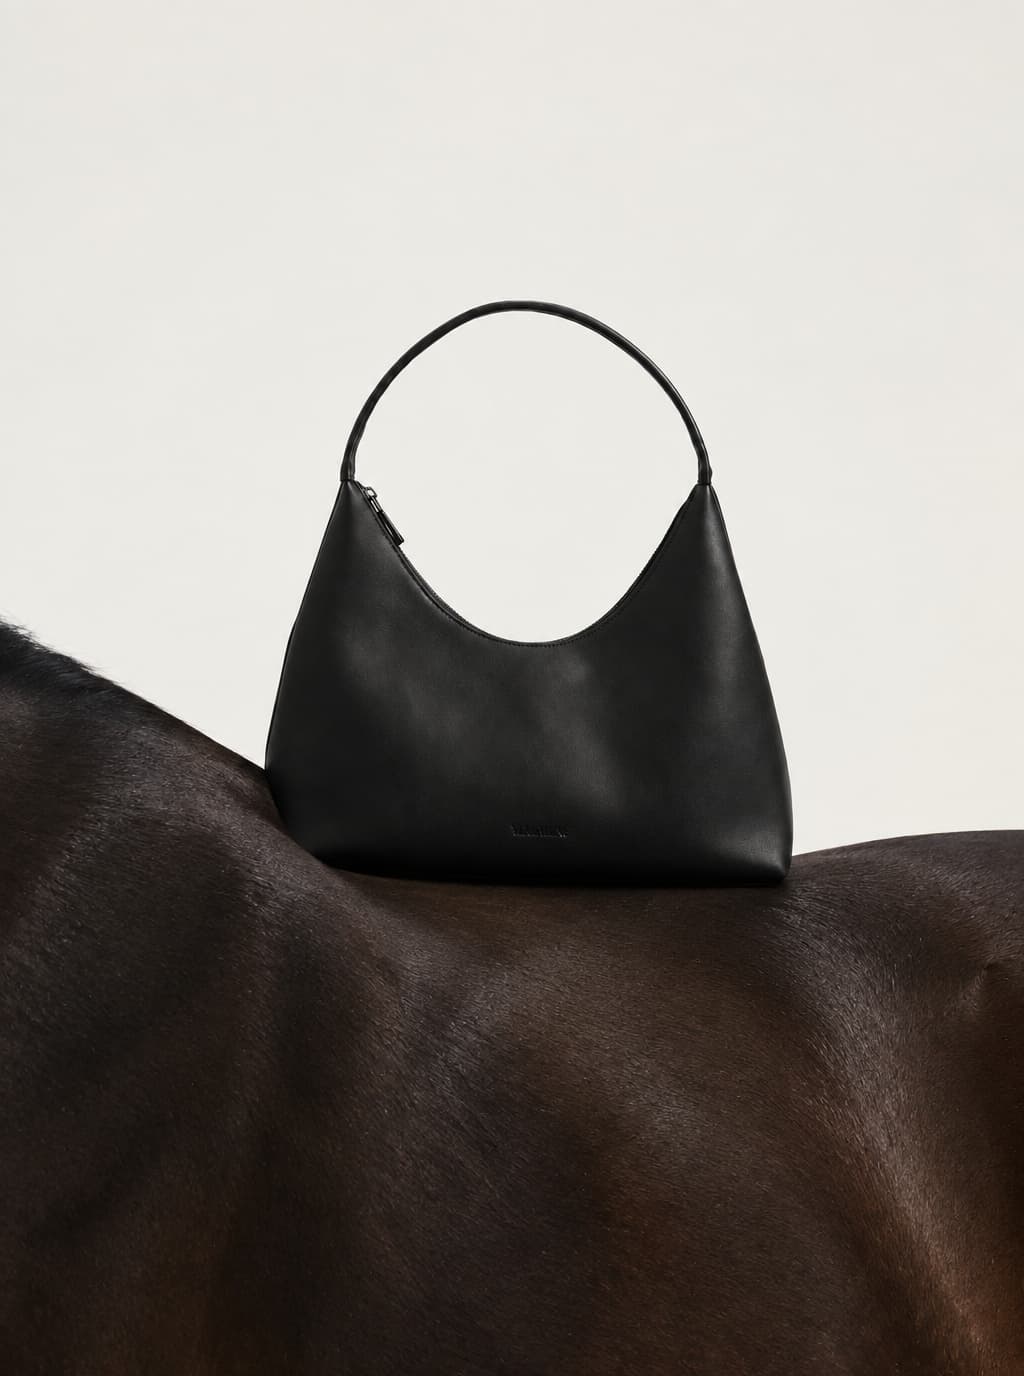
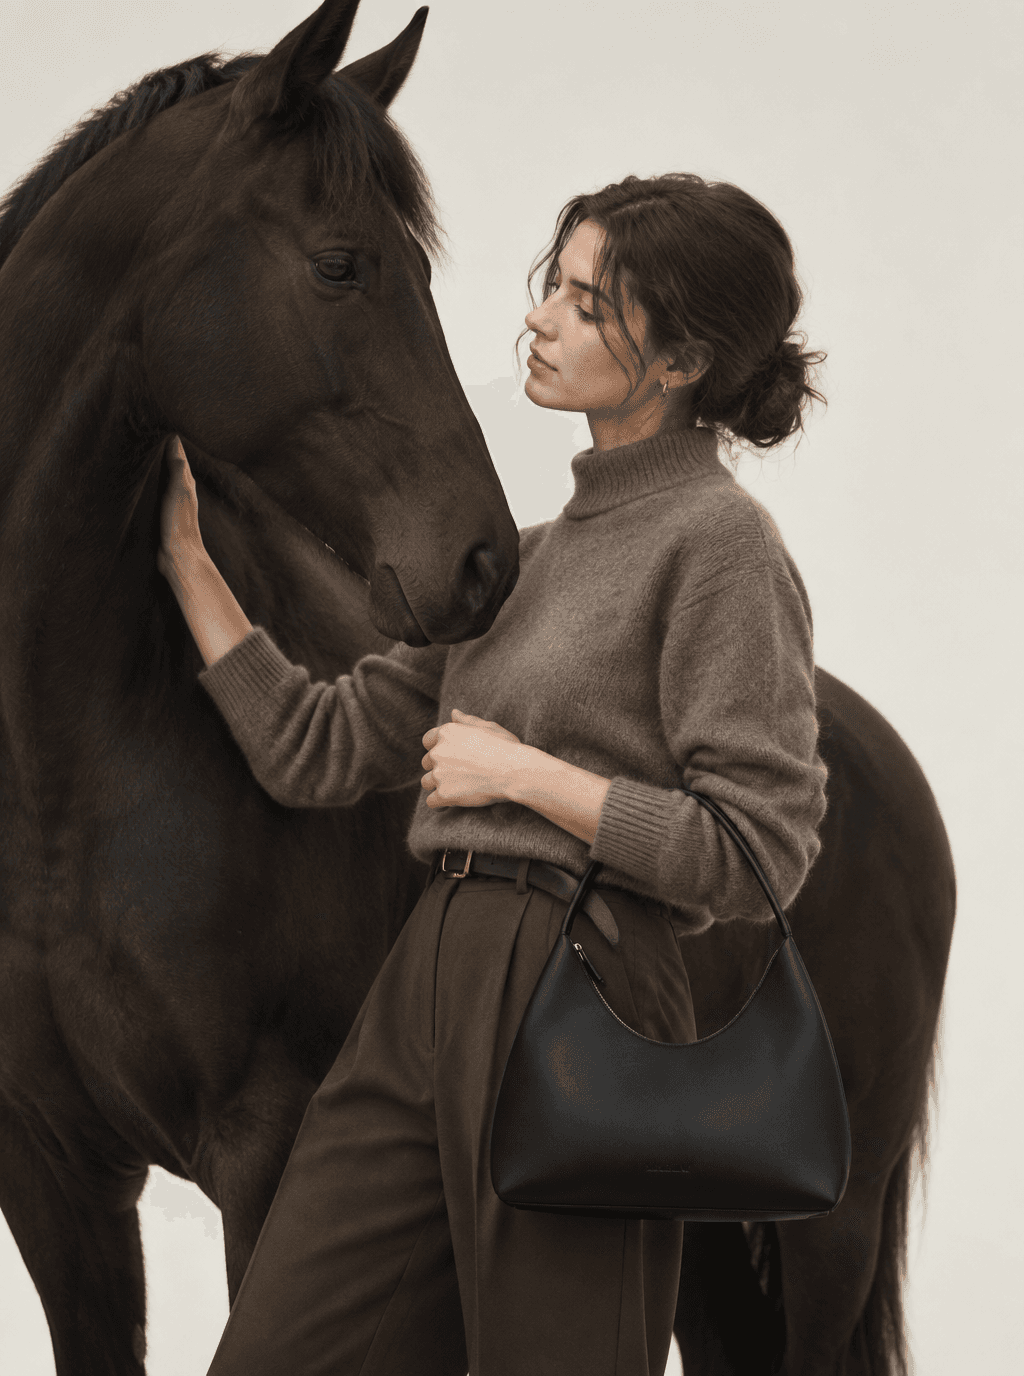
01
Start with one outfit
Try a single look before planning a whole collection.
AI lookbook generator
For fashion brands preparing collection imagery: use an outfit reference to generate front, side, back and full-body image options. Compare the set, refine the useful frames, and choose images for your lookbook.
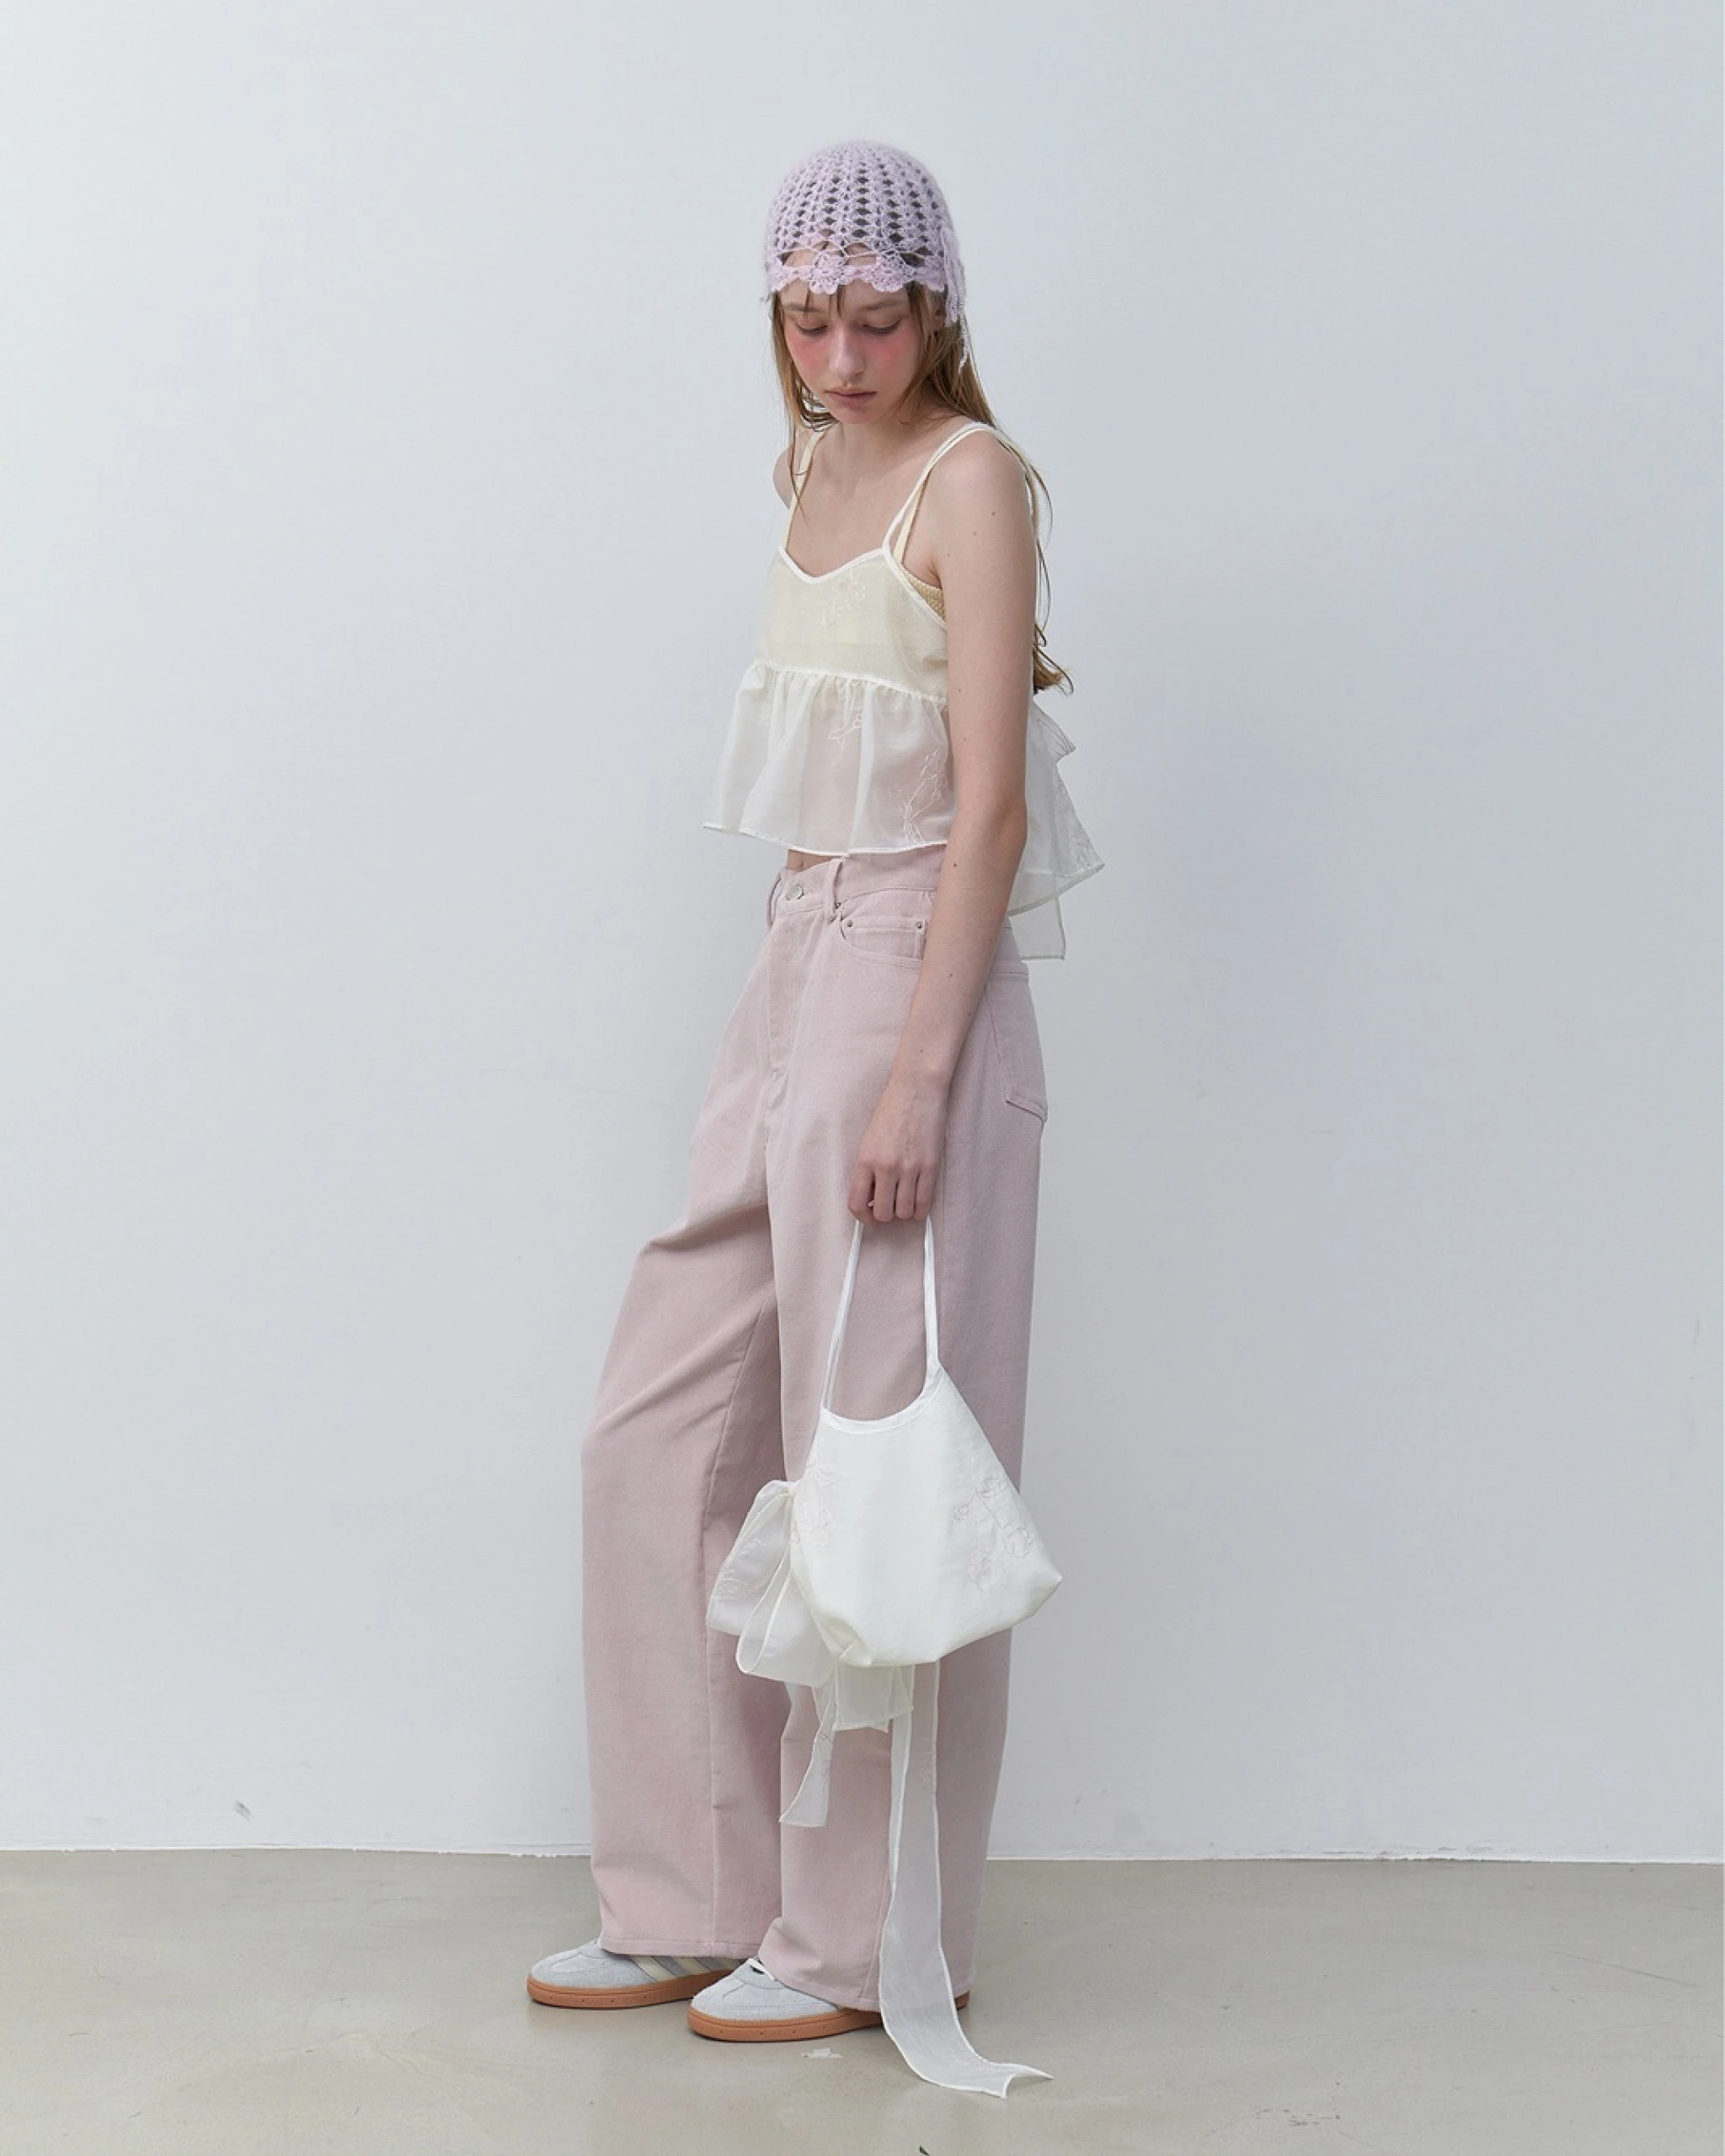
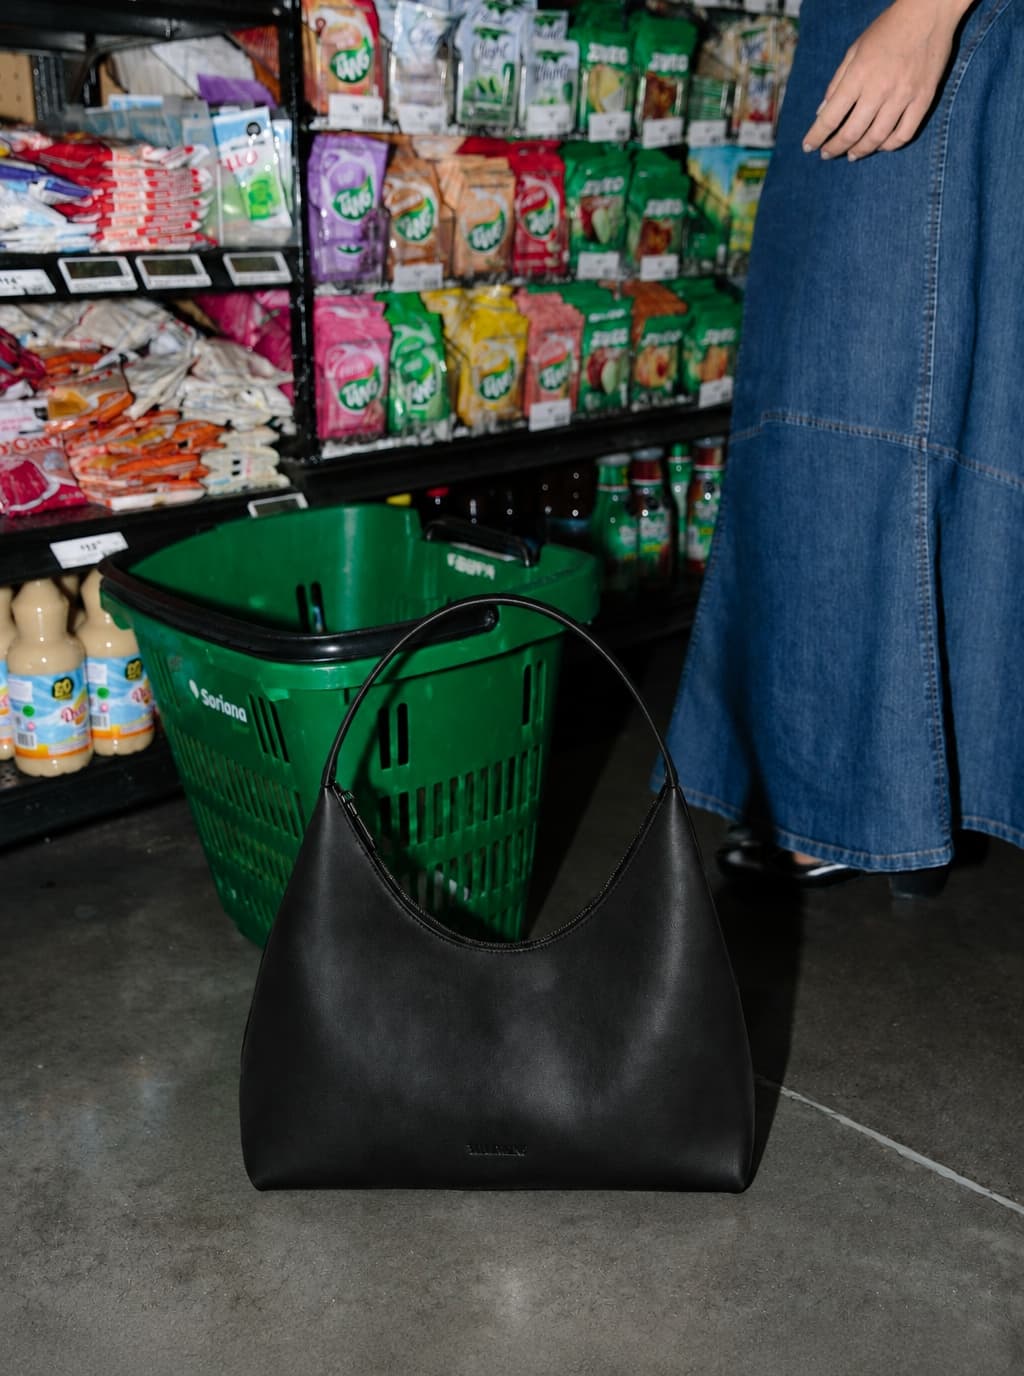
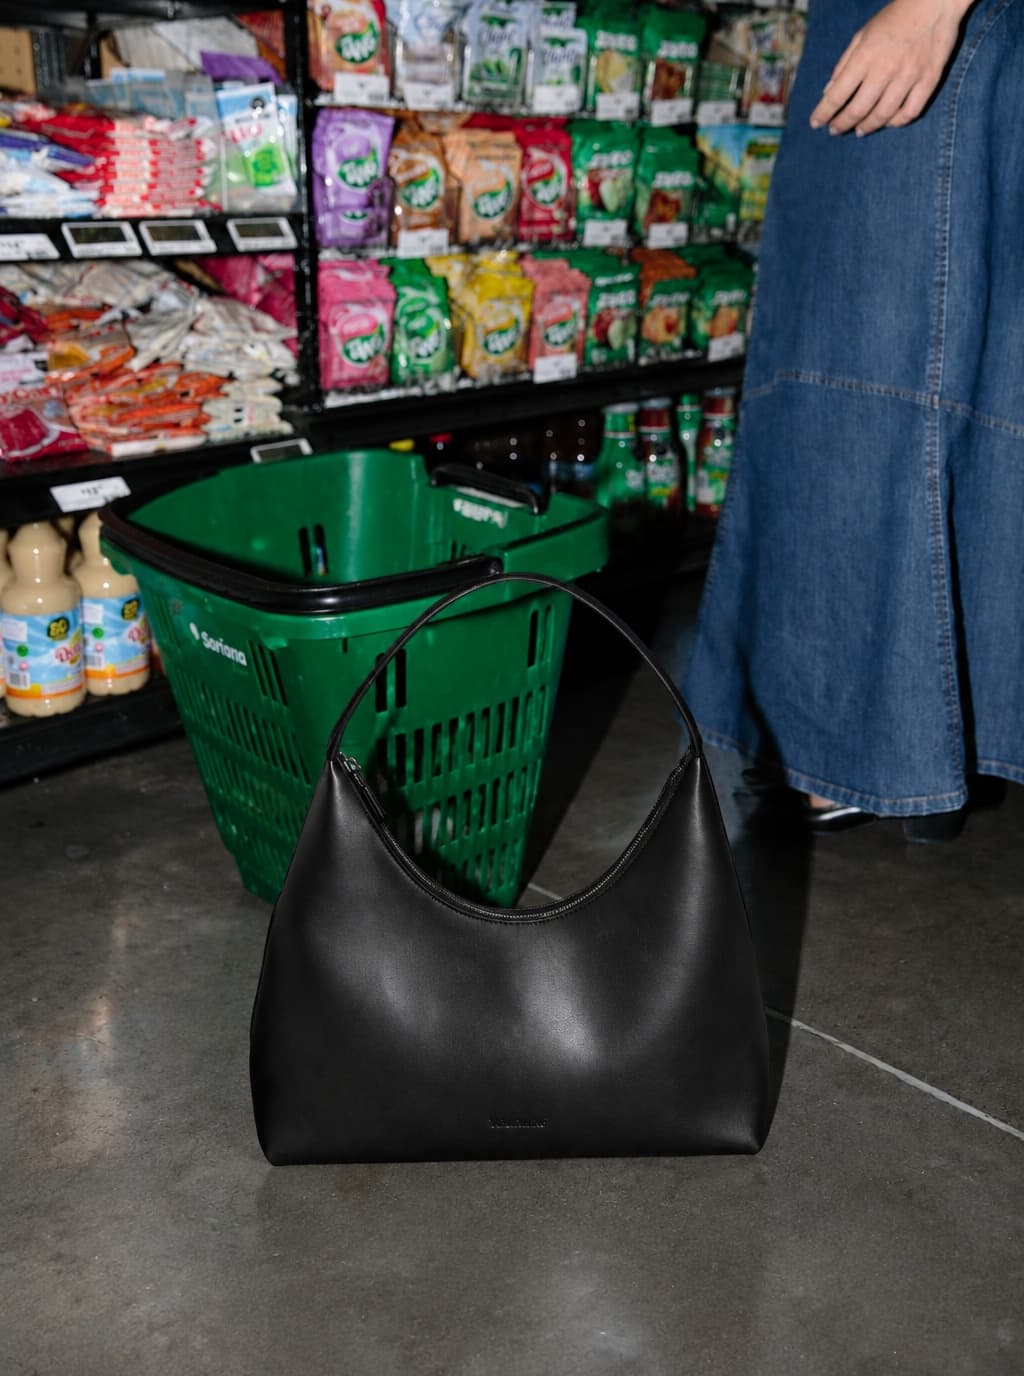
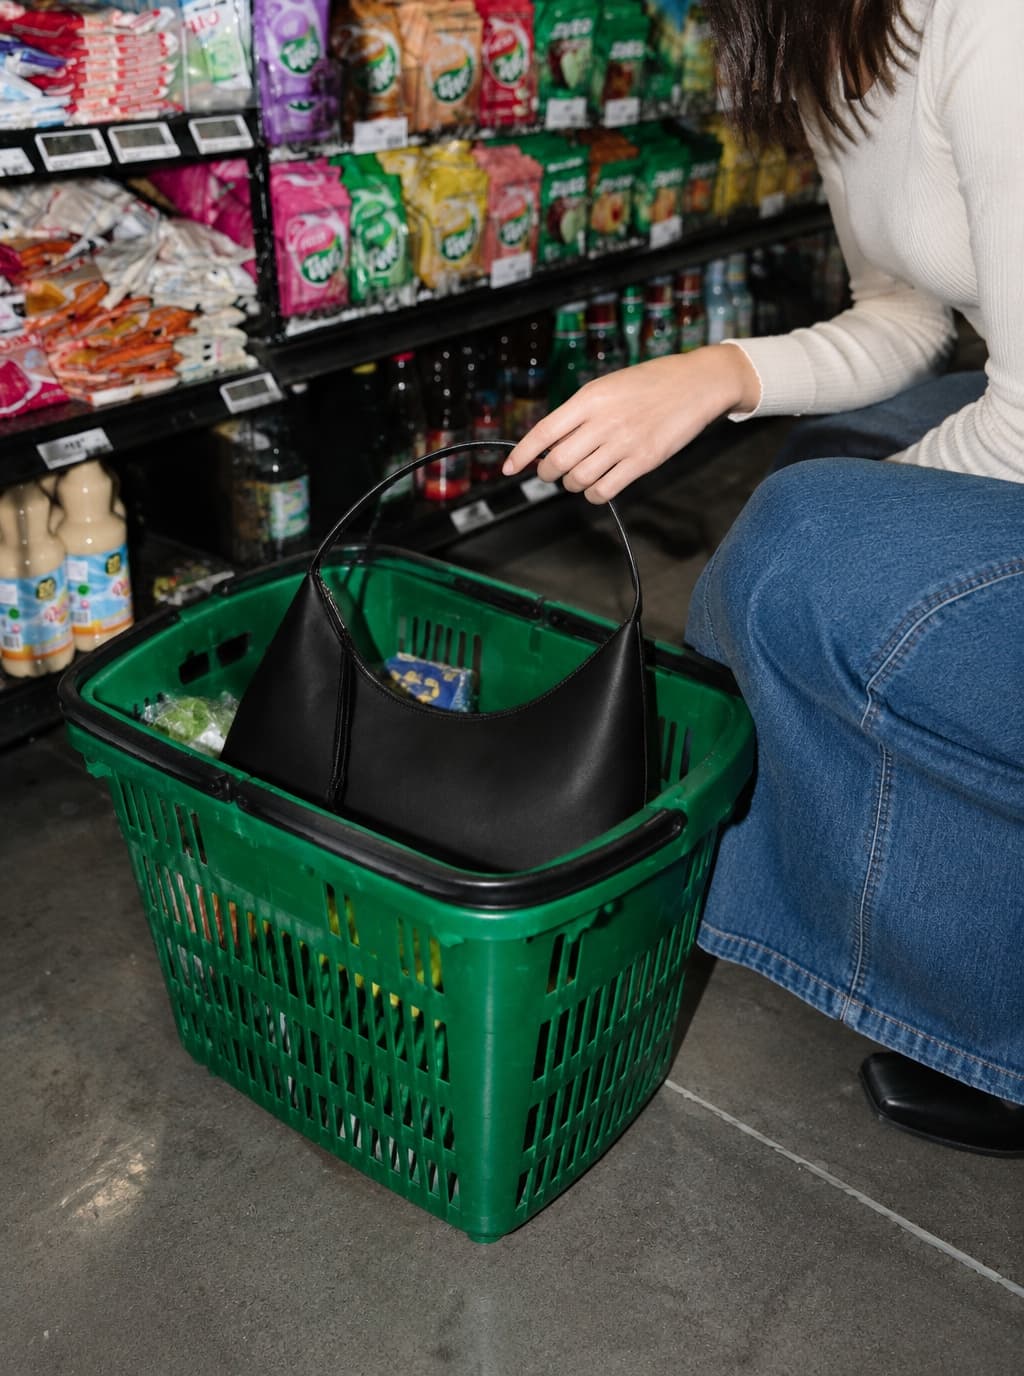
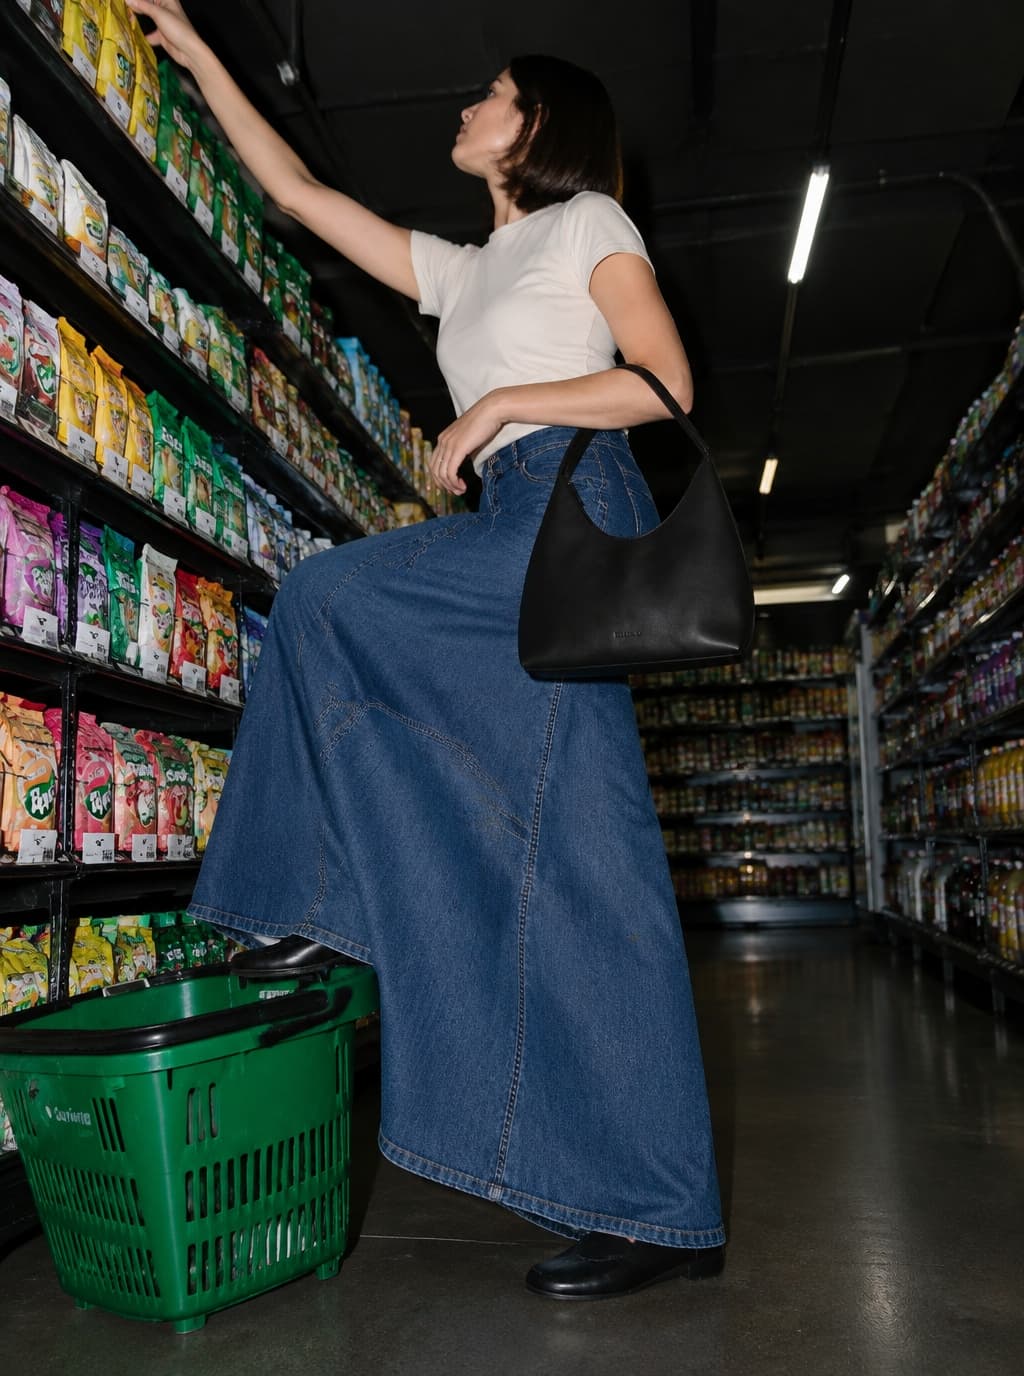
AI-generated example
One frame in a four-image set. See the original reference and each generated view below.
Start with an image you love. Keep its visual direction as you create people, products, stills, and motion.
Bring a model, product, outfit, or mood image to set the direction.
Keep the light, color, framing, and styling cues you want to reuse.
Carry that direction into portraits, product shots, and lookbooks.
Bring a selected frame to life while keeping the person and outfit aligned.
Bring your product and an idea. Explore a visual direction, save it as a Style, and use it across your next collection.
Explore references against your brief. Compare the light, composition and mood before choosing what fits.
Save the direction you choose so you can return to it for your next project.
Apply the Style to another product and explore new variations. Review each result against your product photo.
Try a fresh take.
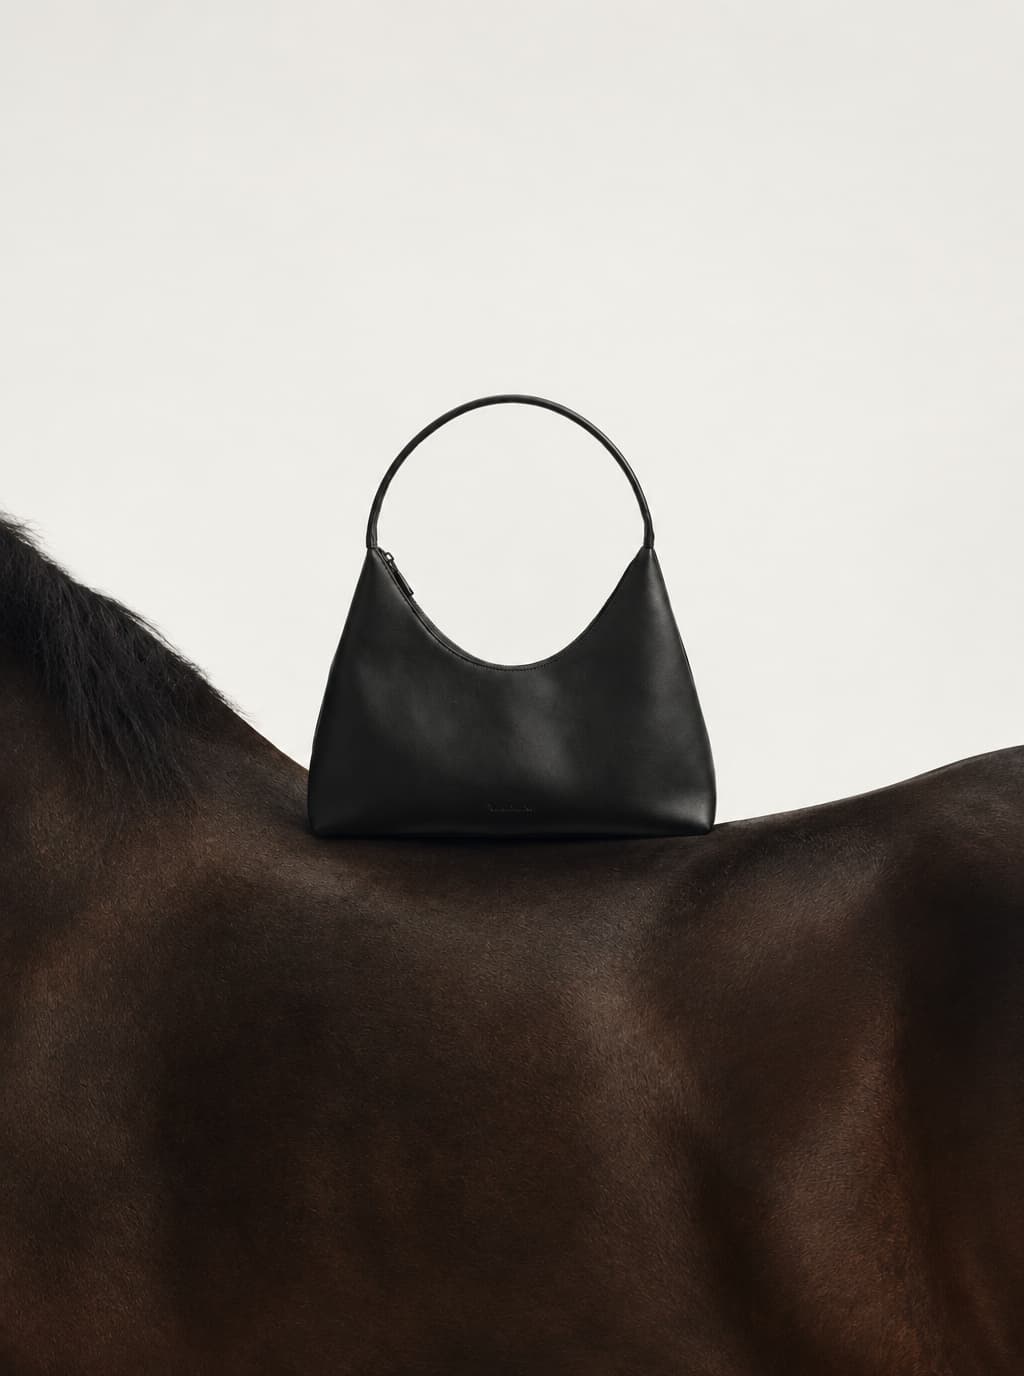
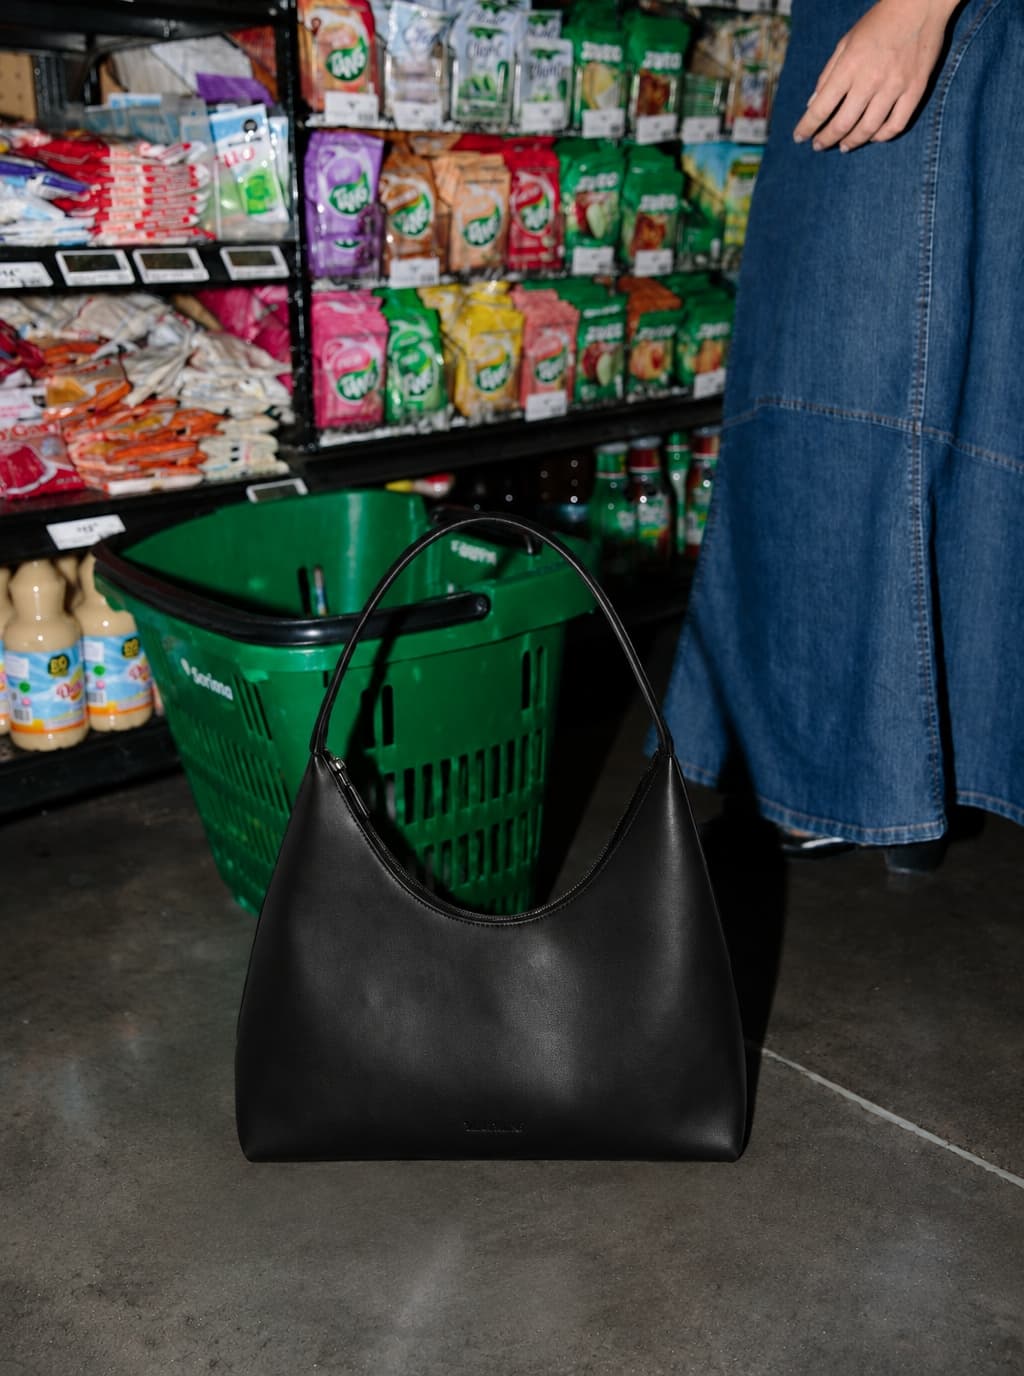
01
Try a single look before planning a whole collection.
02
Create front, side, back and full-body options around the same outfit reference.
03
Give the generation a starting point for lighting, pose and styling.
04
Compare the generated garment with your real product photos.
Reference → generated images
The existing lookbook example extends one input into a set of full-body, closer and rear views. Review garment and accessory details before delivery.
One outfit image with pink trousers, a pale top and a white bag.
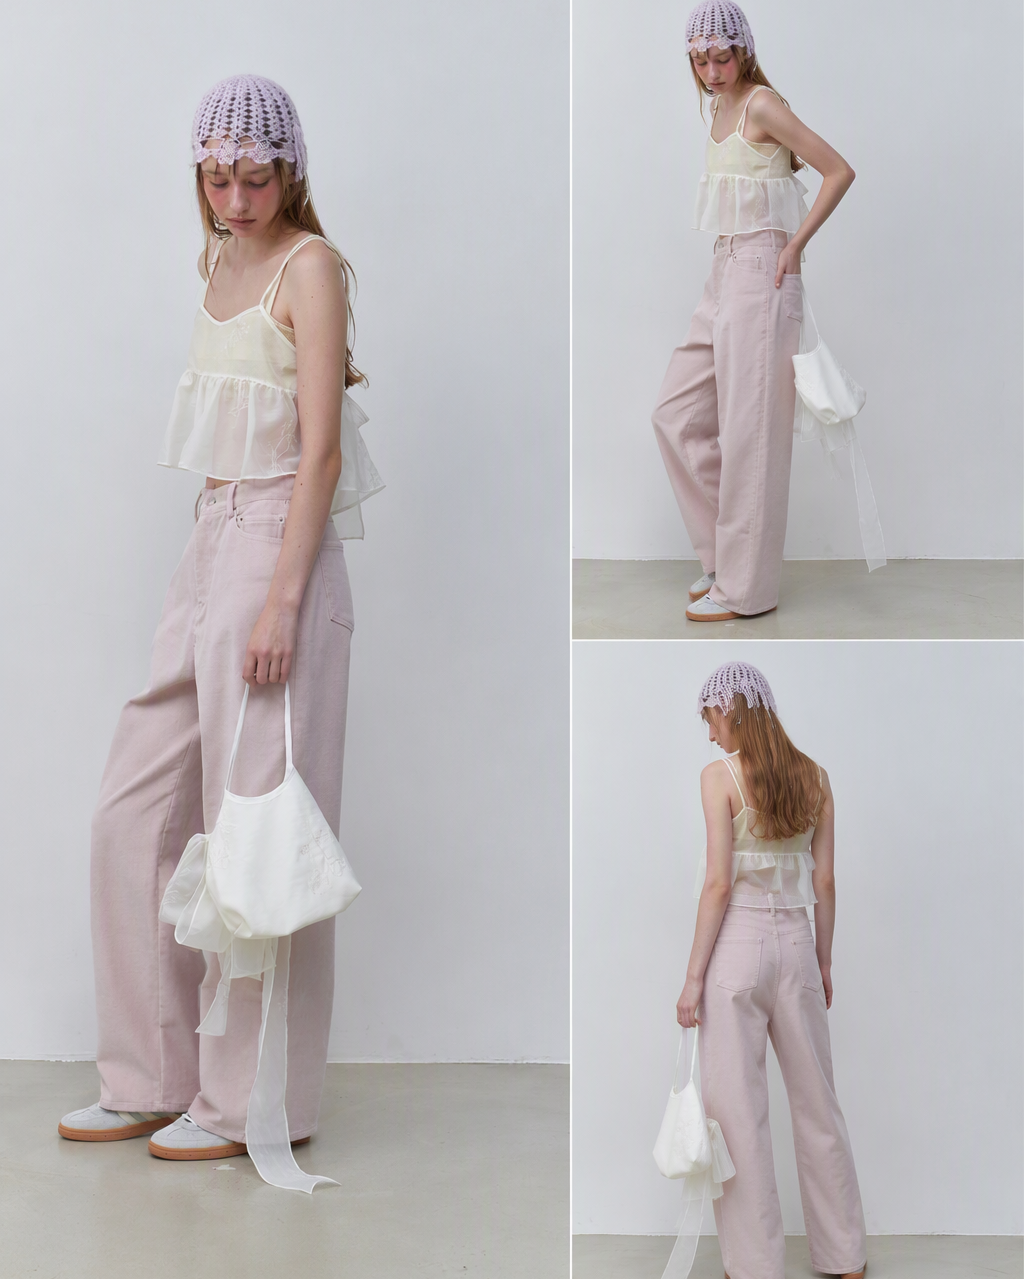
Compare the generated views with the input for garment structure, accessories and consistency.
These are AI-generated variations, not photographs of the same physical garment from new angles. Check the collar, seams, proportions and bag details against your own product before using a result.
What to prepare
Choose a well-lit photo where the garment is easy to see. For a real product, also prepare photos of its front, back and important details. Add a separate style reference if you want different lighting or a setting. Decide which view you need first.
A style reference shows a direction; it does not prove the exact construction of your product. AI can invent details that are hidden in the input.
Make your first set
Start with one clear outfit image and a short shot list. Use the same references and visual direction across your set, then compare the generated views before preparing your final lookbook layout.
Upload your outfit photo in the template. You can add extra views of the real garment. If sign-in is needed, you will return to this template.
Choose a preset background or upload your own, set the lighting, and add a shot direction before generating.
Check the result against the source. If the garment, face or styling changes in a way you do not want, refine that image before continuing.
Request a side, back or closer frame using the same references and direction. For a back view, add a real back photo and check closures, seams and the bag position; a front photo cannot establish hidden details.
Place the results together. Keep frames that explain the outfit and fit the same mood; remove distorted or inconsistent images.
Review the final crops and product details for your intended use. Assemble the selected images into your website, social post or lookbook layout.
Before you use the images
Judge the set against your actual garment, not only against the style reference.
The main garment is easy to see in the front or full-body view.
Colors and patterns match your product photos.
Buttons, seams, closures and logos have not been invented or changed.
The face, outfit and lighting fit together across the set.
Back and close-up views agree with real photos of those details.
The crop leaves enough room for your intended page or social format.
When you need more detail
Read the guide for choosing a visual direction, making a shot list and preparing your selected images for a lookbook.
What to make next
Create and refine the approved on-model direction.
Build supporting product, detail, and lifestyle images.
Control lighting, composition, palette, and scene consistency.
Turn approved stills into short-form motion and launch content.
AI lookbook FAQs
Yes. Start with a clear outfit photo and request the views you need. DOBIDOBI generates individual image options for your lookbook. The example above shows one reference and four generated views. Add real product detail photos when you need to check parts hidden in the original.
Use the same outfit and person references and keep the lighting and styling direction consistent. References guide the result, but identity, proportions, seams and accessories can still change. Compare the views as a set and refine or remove mismatched frames.
It can generate a back-view variation, but it may invent details that the front photo does not show. Supply a real back photo if you need to represent a particular product, then compare the generated collar, seams, fastenings and silhouette with that source.
Generation uses DOBI coins, and the amount depends on your generation settings and how many attempts you make. Check the current pricing page and the cost shown before generating. This example does not promise a fixed cost for a complete set.
This workflow creates lookbook images. Choose your results, then assemble them with your product names, descriptions and prices in your own layout tool. The image set shown here is not a finished PDF, wholesale line sheet or interactive catalogue.
Review garment accuracy, the consistency of the set and your rights to the source material first. Choose the images that suit your intended use and prepare the final crops or layout before publishing.
Bring an outfit reference, choose a view, and compare the result with your product before extending it into a set.